Getting started with Terraform.io
I seem to be failing to blog as much as I would have hoped, I have several articles in draft format that I just haven't had time to finish/refine. Anyways, have been experimenting with Terraform.io over the last few days and decided that it would be a good idea to document my journey.
A few weeks back I attended the 2018 CDX event hosted at Glasgow University, further info here and a great write up by one of the attendees, Becca, can be found here. During my time at the event, I had the opportunity to chat with the guy who had organised, coded and setup the infrastructure for the event. As part of an on-going work project, I need to learn how to create infrastructure and this seemed like an ideal time to document the learning process.
Getting Started
As with anything new, I started off by reading the documentation on the terraform.io website. They have a great getting started guide which covers the basics of installing the required software and information relating to how you can use Terraform with a variety of different providers.
What is Terraform
Terraform is a tool for building, changing and versioning infrastructure. Essentially, you can write configuration files to describe the different components that you need to create an execution plan to build the infrastructure that you require to run your application. For this example, I am going to use Terraform to create an instance of Kali Linux using AWS EC2.
As I'm not from an infrastructure background, there may be some mistakes and errors in the code and there is possibly easier ways to provision and setup some of the AWS configuration via the Terraform configuration files. That said, if your interested in learning more, I would encourage you to write out your own code rather than just copying and pasting.
One of the questions I asked myself was, why in would I want to use code to create infrastructure? I quickly discovered, that after creating my initial code, I could quickly spin up multiple machinea using the following commands terraform plan and terraform apply then destroy the machine using the terraform destroy command.
Requirements
In order to follow along you will need the following:
- AWS Account
- Terraform
- Code Editor - I used Visual Studio Code
- Putty / know how to SSH into a machine
Configuring AWS
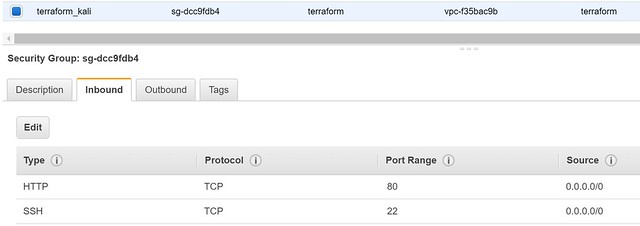
So to start, you will need to setup a few things, I wont be going into everything in detail as there us plenty of other AWS resources you can read to get you going. First, you will need to obtain your access key and your secret key. Then you will need to need to create a key pair, once this is done, a .pem file will be downloaded to your machine. For this example, I called my key pair name terraform_kali. Finally, you will need to create a security group, again for simplicity I named my security group terraform and then configured my inbound rules to allow SSH on port 22 and HTTP on port 80, as shown below.
Configuring Terraform
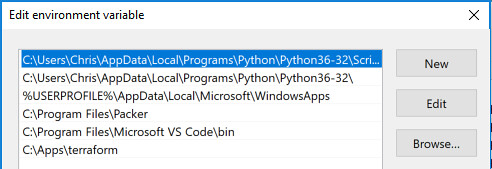
Download Terraform for your operating system and architecture, which for me was Windows. Once downloaded, I created a new directory on the C: drive called Apps and within this directory, I created a 2nd called terraform c:\Apps\terraform, copy over the terraform.exe from your download folder into this directory. You will also need to edit your environment variables to include Terraform in your path, as shown below.
Writing your first Terraform file
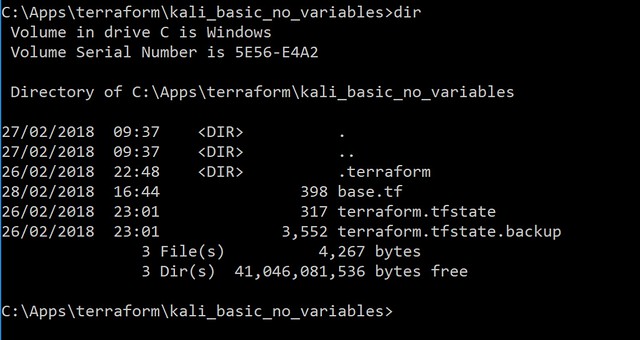
Pick whatever code editor that you are happy with, I went with the lightweight Visual Studio Code as it has a module which recognises the .tf file extension that Terraform uses. To keep things simple, I recommended that you create separate directories, I already have a few examples and will be working in the c:\Apps\terraform\kali_basic_no_variables directory.
Inside this folder, I have created a new file called base.tf - you can name this file any name your like, but it must end with the .tf extension. This is the main file which we will be using to code out our infrastructure configuration.
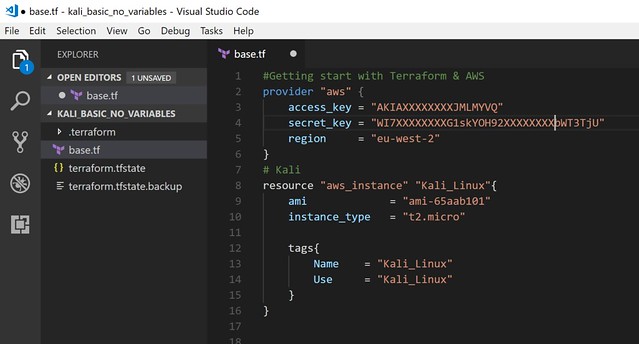
Let's do a quick breakdown of the code inside the base.tf file shown above.
First we define our provider, for us this is "aws". We then set our "access_key" and "secret_key" followed by the region in which we wish our instance to be deployed into - "eu-west-2"
Next, we configure the resource that we wish to use "aws_instance" and define a name for our instance "Kali_Linux". Next, we enter the AMI number for Kali Linux (You can find this in the AWS Marketplace), followed by the AWS instance_type we want to use, I chose "t2.micro" as there is no charge for using these. Finally, I set a name and use tags so I could easily identify the instance in the AWS EC2 console.
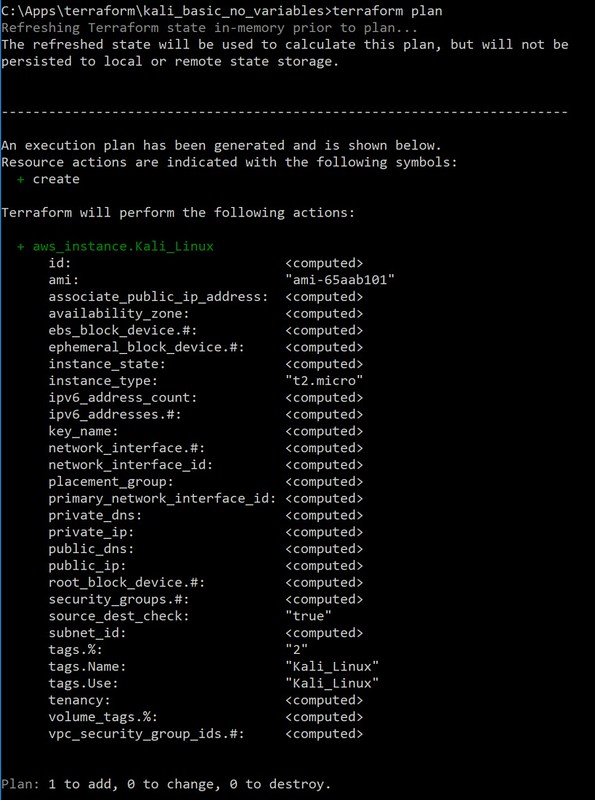
Once we have all settings in place, we first use the terraform plan command. This will examine the base.tf file and Terraform generates an execution plan. Note the + icon, this indicates that a new instance will be created. See screenshot below:
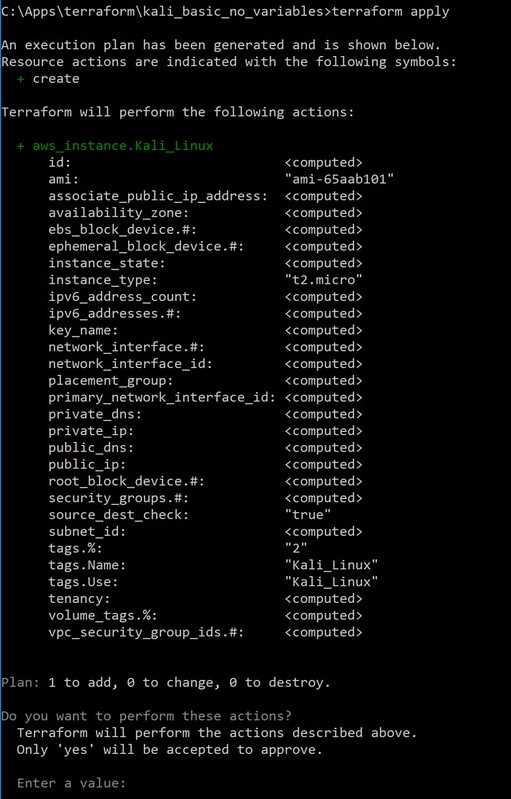
Now, all we need to do to deploy our instance is issue the terraform apply command, by default, the this command scans the current directory for the configuration and applies the changes appropriately. You will be prompted by Terraform to confirm your actions, simply type "yes".

Returning to Visual Studio Code, you will see that a new file named terraform.tfstate is created. This file is used to store the state about your managed infrastructure and configuration and is used by Terraform to map real world resources to your configuration. This file will also contain the public and private IP address of your new instance.
Now, if we return to the AWS EC2 console, we will find that our Kali Linux machine has been built and is running, however because we didn't specify a security group we have no actual access to either a GUI or command line.

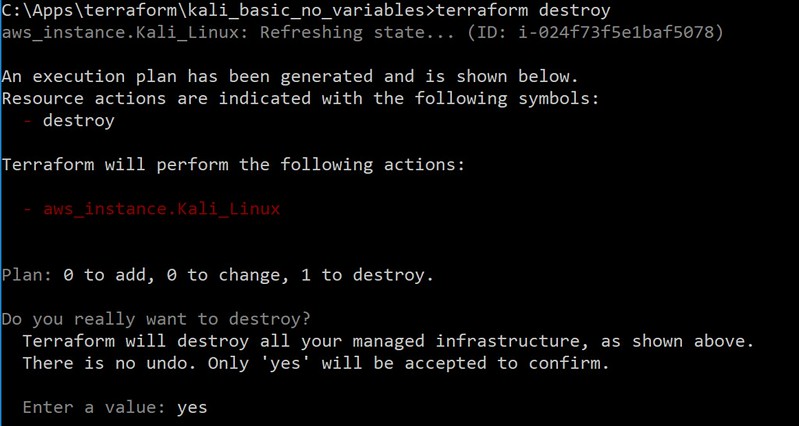
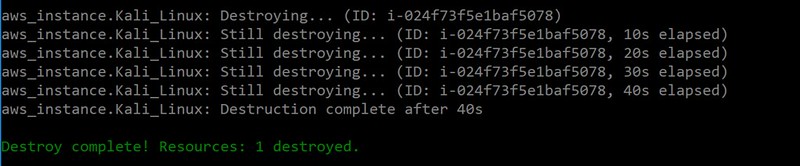
We can rectify this by adding these settings into our base.tf file, however as I want to improve my code, I will be creating a new directory and starting fresh. Be sure to issue the terraform destroy command to destroy the instance, as shown below.
Improving our code
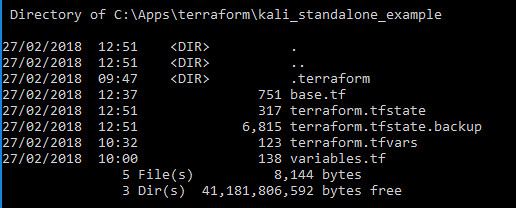
As you can see from the screenshot below, I am now working in a new directory called C:\Apps\terraform\kali_standalone_example
In our new base.tf file you will see a number of changes.
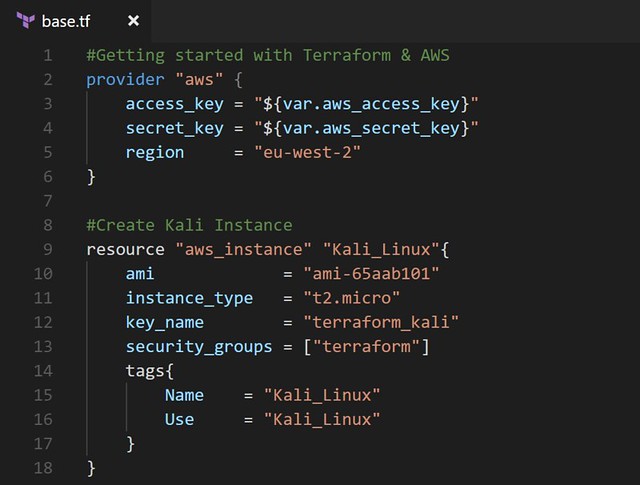
Instead of having the access key and secret key visible in our base.tf, we can seperate them out into a variable file, variables.tf and a terraform.tfvars file. We can then reference these variables in the base.tf file. We can also flesh out our code to include the key name and security group that we created earlier in AWS. This extra information will allow us to SSH into our Kali machine. As you can see from the screenshot above, I have included the "key_name" and security_groups that were created earlier in AWS.
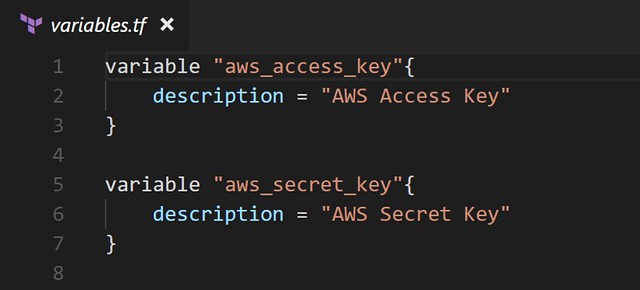
Contents of the variables.tf file below:
Contents of the terraform.tfvars file below:
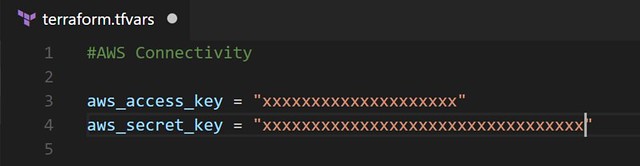
(Replace X with your own values).
Again, we run through the same process to create our instance, terraform plan, followed by terraform apply. Once our instance is running, you can find the public IP address for the instance back over in the terraform.tfstate file in Visual Studio code.
Connecting to your new Kali Instance
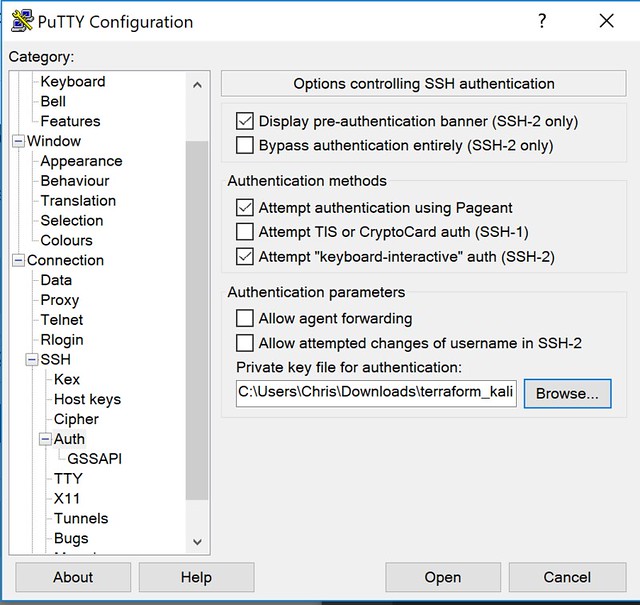
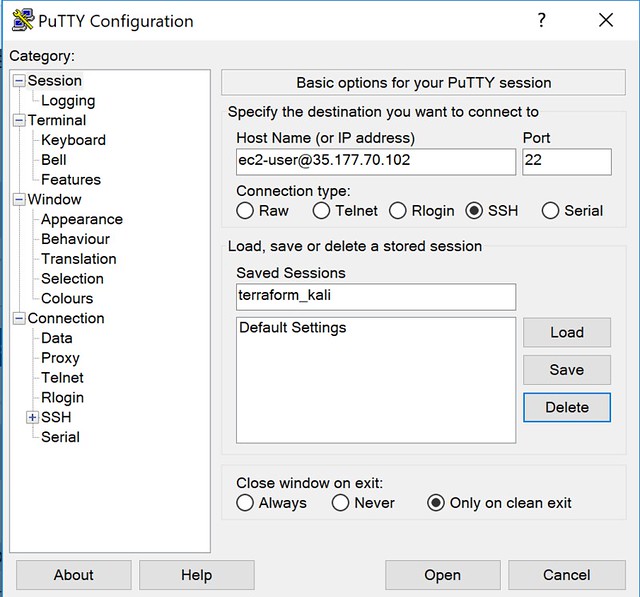
Once we have the instance up and running we can connect to it using the SSH key that we downloaded earlier. If you are using a Windows machine, you can use Putty to connect, however you will need to remember to convert your .pem file to the .ppk format first - you can use puttygen to do this. Once converted, browse to the key.
After that, simply enter the user account ec2-user followed by the public IP address of the machine - you can find the IP address in your terraform.tfstate file or by selecting the newly created instance from the EC2 dashboard on AWS.
You should then be presented with the command line:
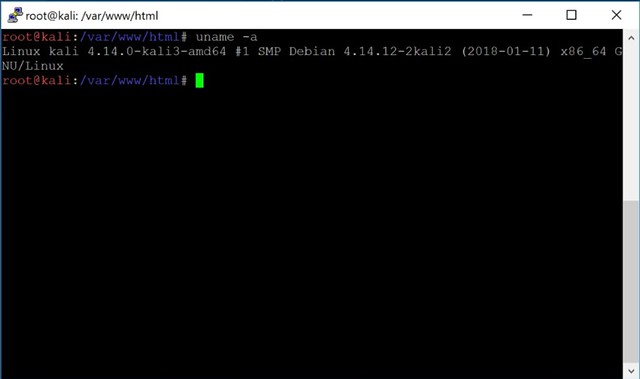
Don't forget to update your Kali instance to get the latest packages and bug fixes - apt update && apt dist-upgrade
As before, when your finished with the instance, simply return to the command prompt and issue the terraform destroy command, Terraform will then begin the process of destroying the instance on AWS.
This tutorial really just scratched the surface, in reality I will need to use Terraform.io to create an environment using existing VM's and Vsphere, so there is still a lot to learn. If you have any questions or have noticed any mistakes, get in touch via Twitter: @ignitionlab.
Further Reading:
https://geekdudes.wordpress.com/2018/01/08/deploying-windows-ec2-instance-using-terraform/
https://www.codex.org/2016/11/building-a-windows-2012r2-instance-in-aws-with-terraform/
https://qiita.com/ken5owata/items/affc9bce0486378eb3cd - screenshots